What is a Floater/How to create a Floater

Whisp Support
Last Update 2 tahun yang lalu
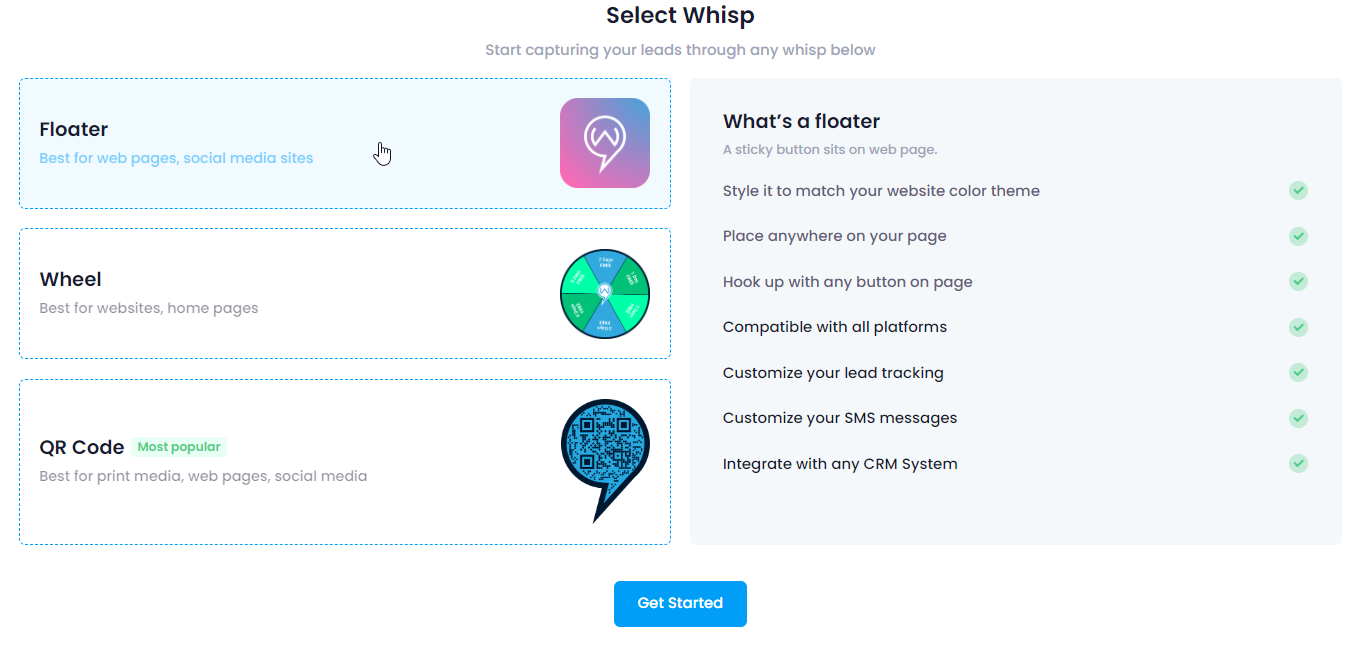
To create a Floater Whisp select Floater and then click Get Started.

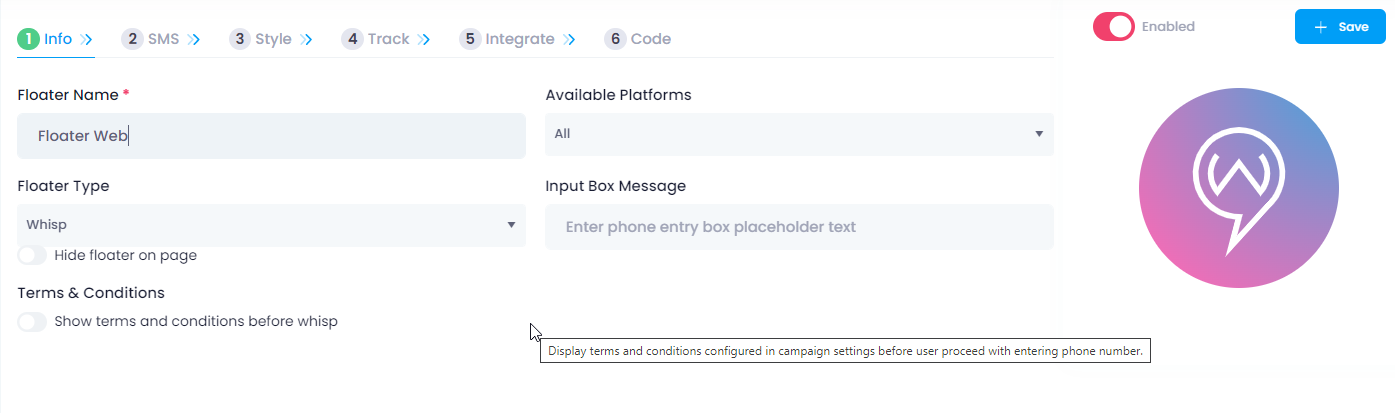
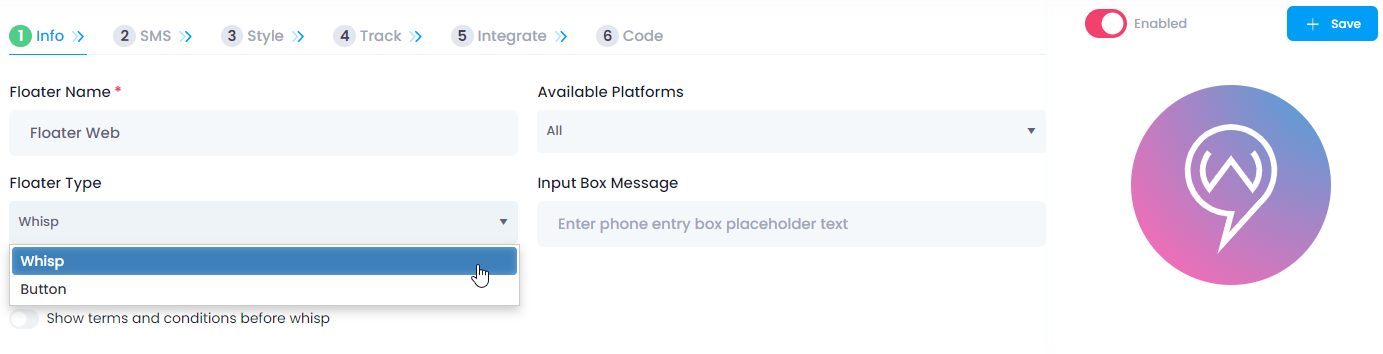
On the info tab you can change your Floater Name, the platforms you would like to display it on, the floater type (Button or Whisp), Input Box Message, toggle on/off the Hide Floater Button, and the Terms and Conditions.

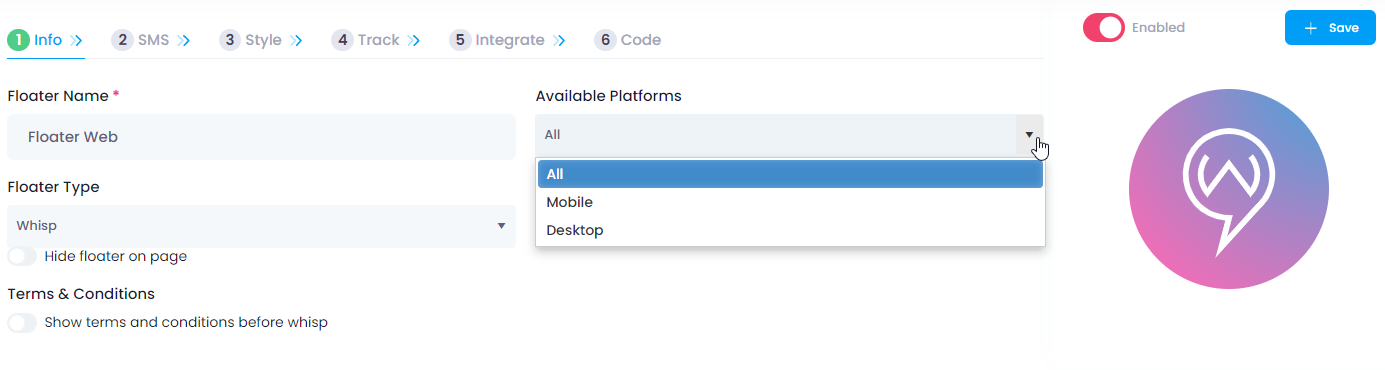
You can select Mobile or Desktop if you would like your Whisp to only show on one or the other, or select "All" so it can be displayed on both platforms.
Select your Floater type, Whisp or Button (click here for details on how to edit the info tab for a Button Whisp)
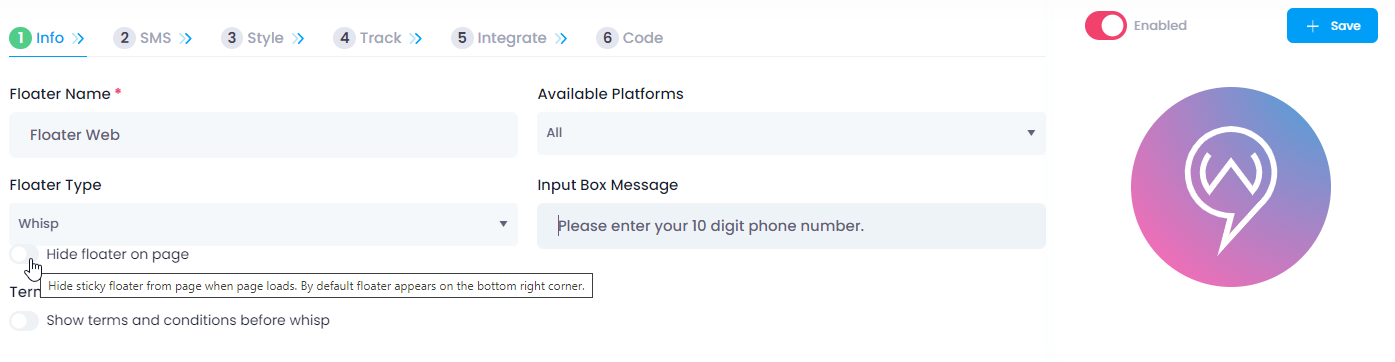
Next, you will enter your Input Box Message, this is what your customers will read when they click on the Whisp. You can also decide if you need to Hide your floater on your page. Hiding a floater can be done at any time by toggling on and off the button next to "Hide floater on page". You might hide a floater if you need to revise it, hold off on collecting leads, or do not want to remove it permanently.
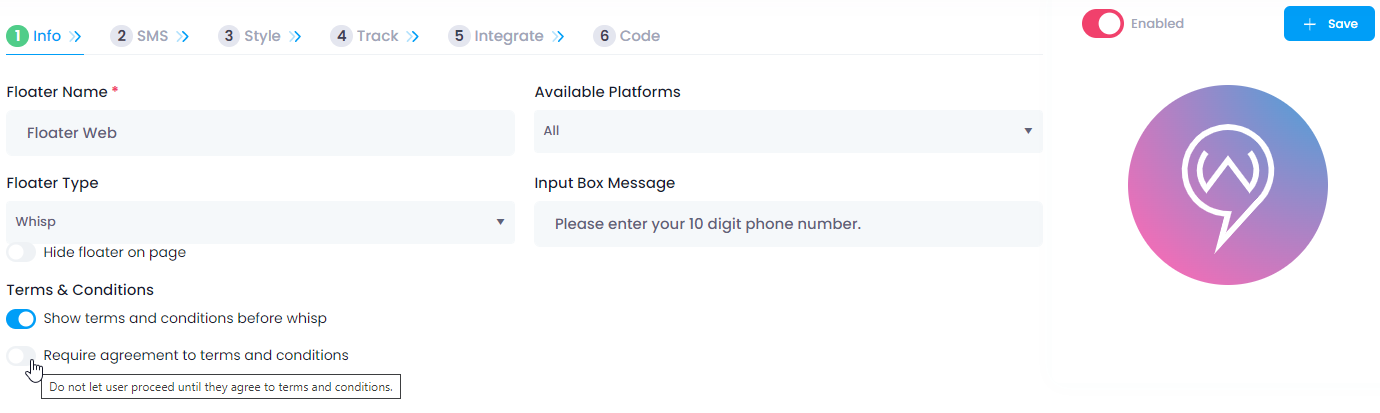
Next you will decide if you would like to turn on your terms and conditions messaging. Your Terms and Conditions can be toggled on and off by clicking the button.

You can toggle on and off the button to require agreement to the terms and conditions, this means your customer must agree to the terms and conditions before continuing.
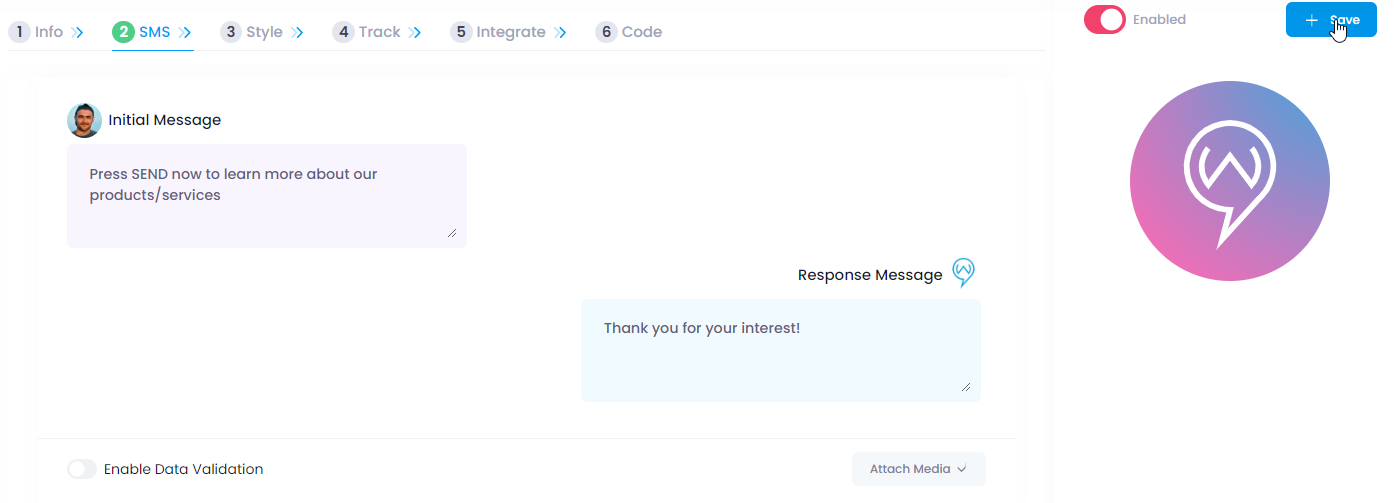
Lastly, you will click on "Save" to save your changes and move on to the next step.
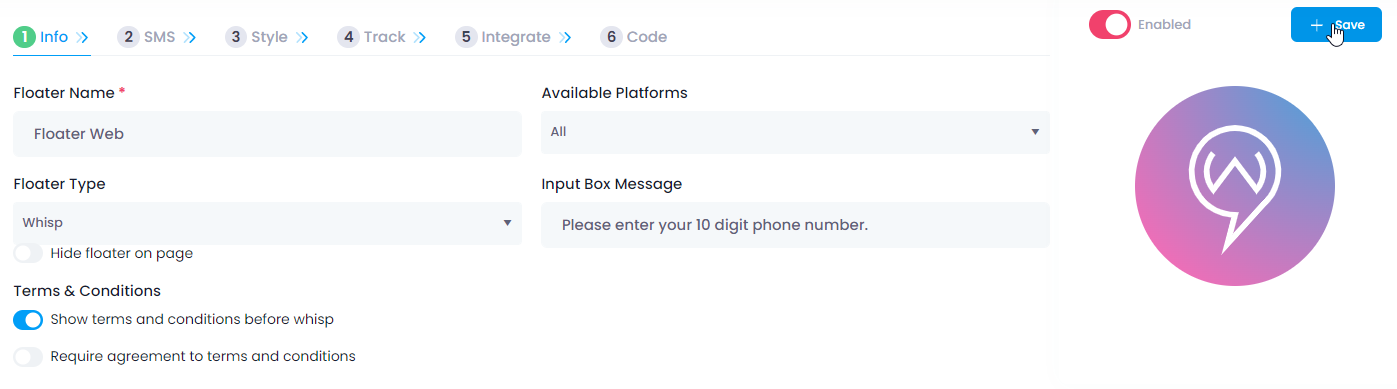
After saving your Whisp, click on "SMS" to move to the next step.

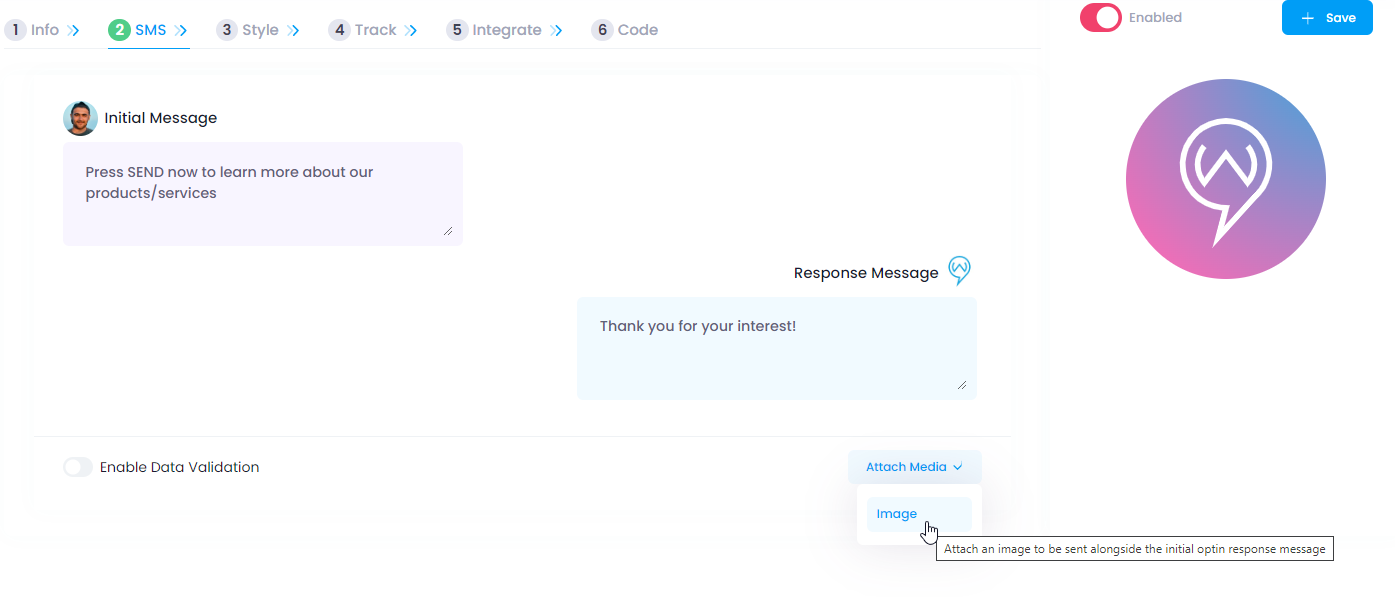
Here is where you will add the message your customers will read when they click on your Whisp. You can use the default language or update it with your own. The "Response Message" is what your customer will receive after they press "Send". You can use this messaging to supply a website or other promotional material that your customer can review while waiting for a follow-up call.

If you would like to add an image to your SMS message you can do that here as well. The image's maximum size is 300KB. Click on "Attach Media", select "Image", then select the image from your device and click "Save". The image will show up after the Whisp has been saved. To delete an image simply click on the X above the image. For detailed instructions please click here.
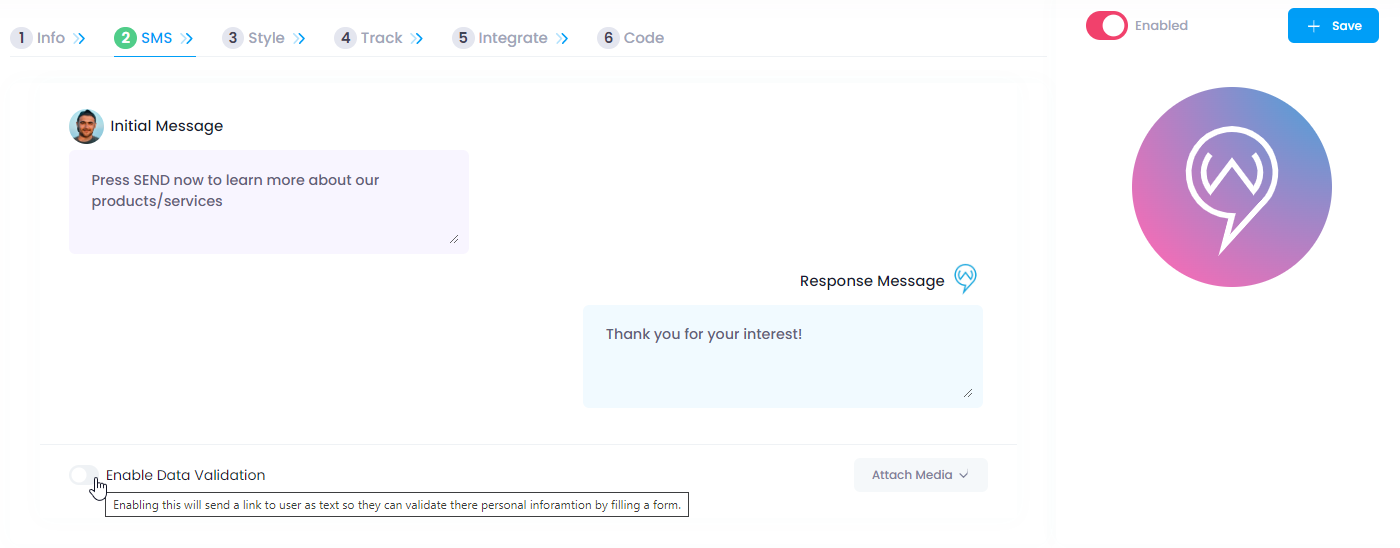
The last step is to Enable Data Validation. You can toggle on and off Data Validation as you need it...
- Data Validation is important for customers who are new to you. When you add Data Validation you will request the customer to validate their first and last name, email address, phone number and address.
- The customer will click on the link that is sent to their phone and update their information and click “validate.” Once this is completed the information you receive will be their correct contact information.
- In order to receive the Data Validation link 2 things must happen:
- You must enable Data Validation in your whisp.
- You must enter Data Validation messaging to your setup. You can do this by clicking on the 3 dots at the top of the page and then click on "Campaign Configurations". In the Data Validation box please enter your verbiage.
- For detailed steps click here.
Once you have completed your Data Validation step please click "Save" and you can move to the next step.
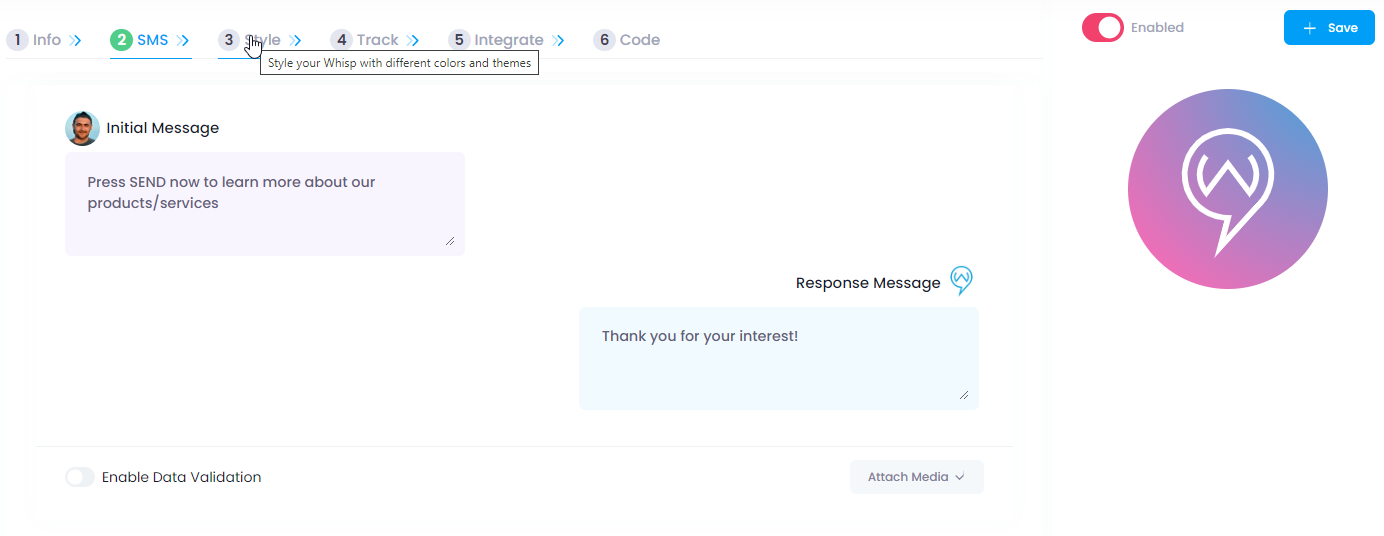
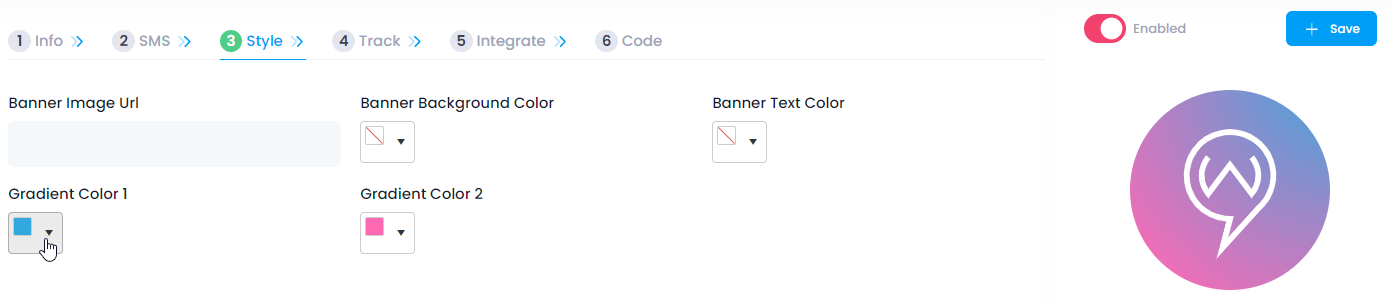
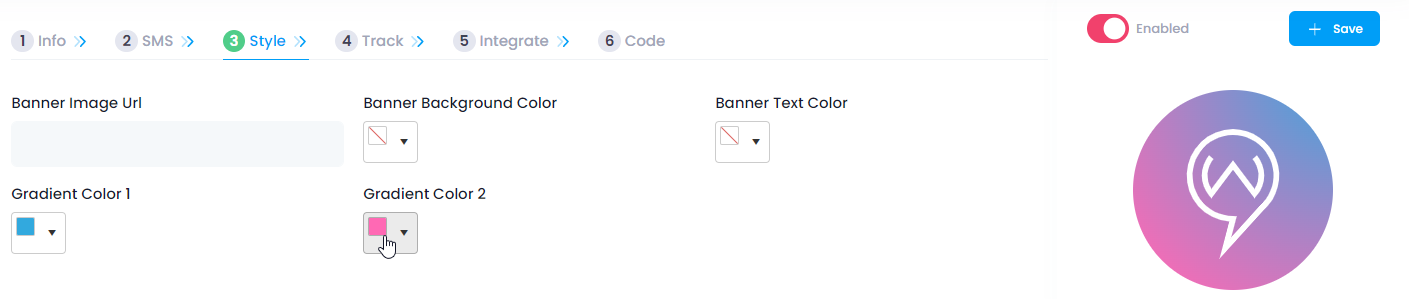
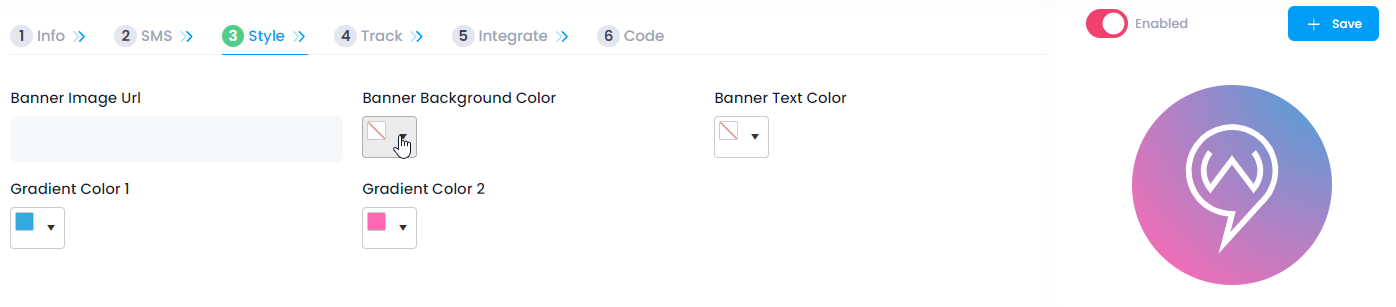
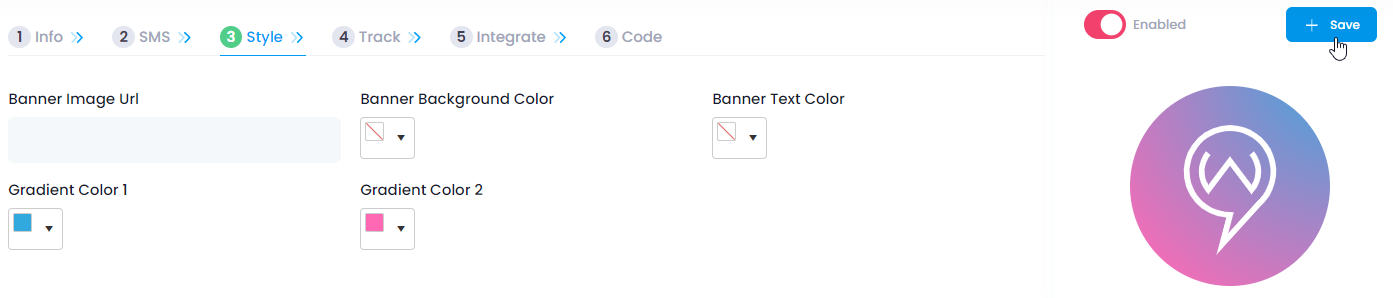
Next you will decide on your Whisp Style, the gradient colors, background and text colors.
Click on Gradient Color 1 to make changes to that color and then Gradient Color 2 to change that color. It is not necessary to have Banner Background Colors or Banner Text Colors if you do not want them.
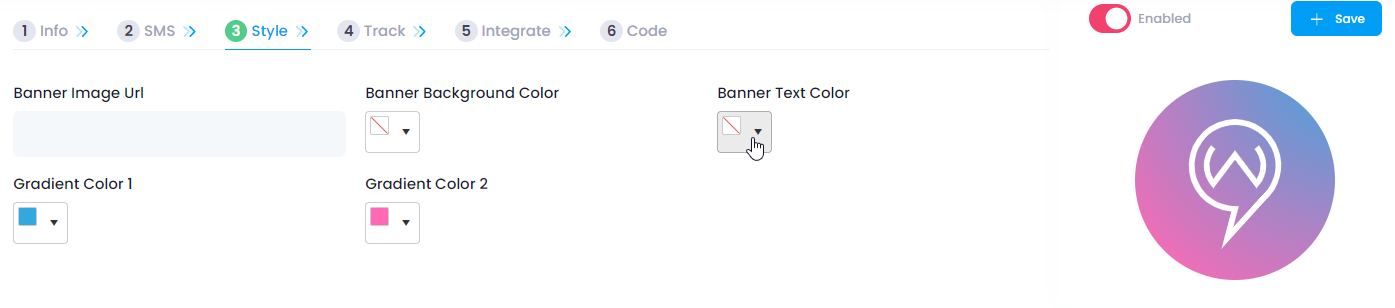
Once you have set all of your color preferences, click save to save the changes.
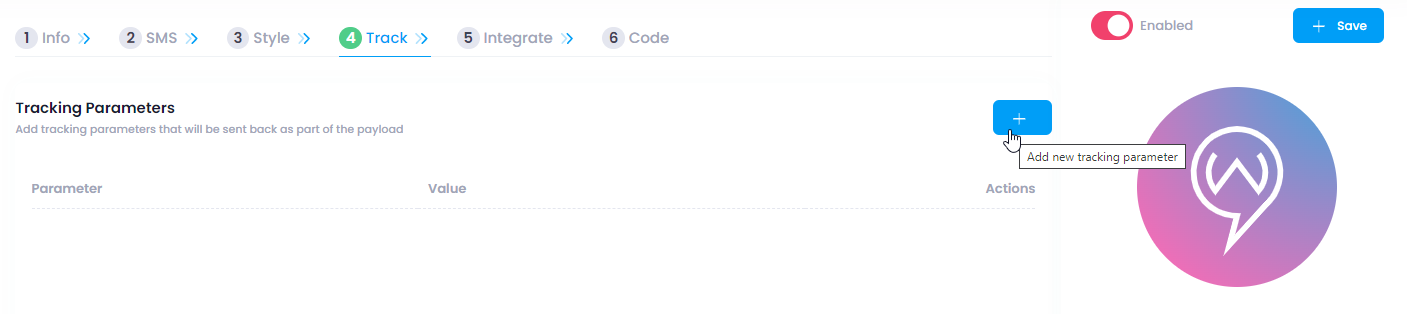
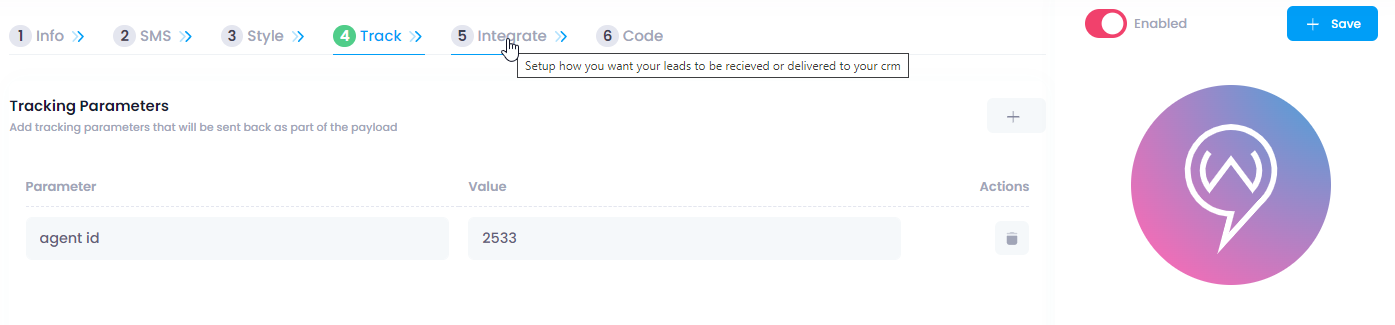
Next you will set up Tracking Parameters. Click the Track tab to get started.

To add a new parameter click on the + button to get started.
You can add the parameter name you would like to pull from the lead and then the value you would like to see in your CRM.

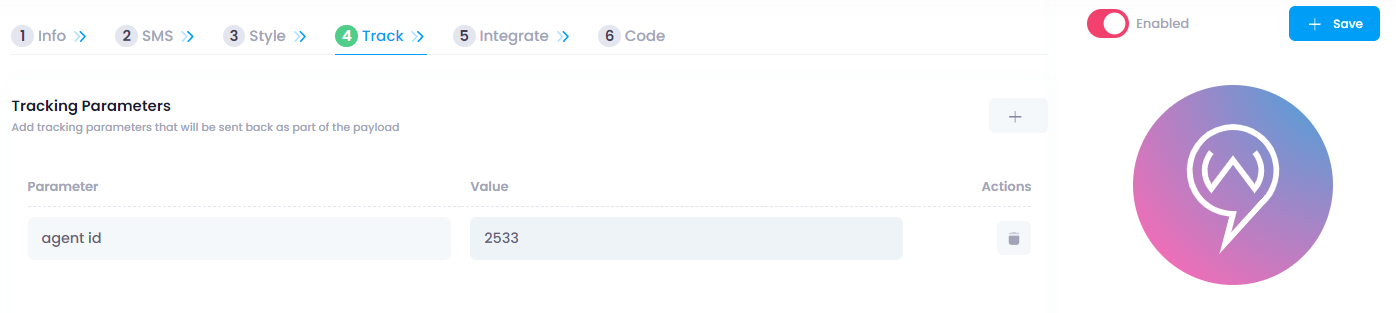
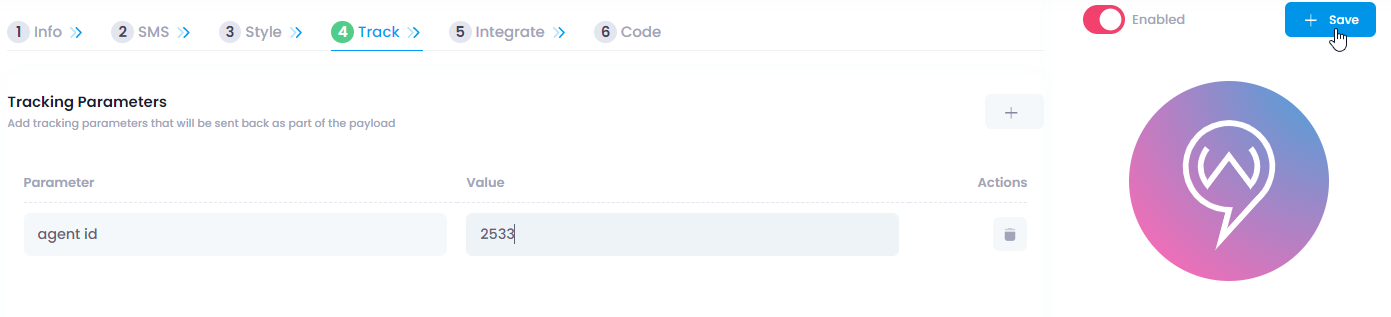
To add additional Tracking Parameters just click on the "+" button and add the new parameter (No spaces allowed). When you are finished click the save button.
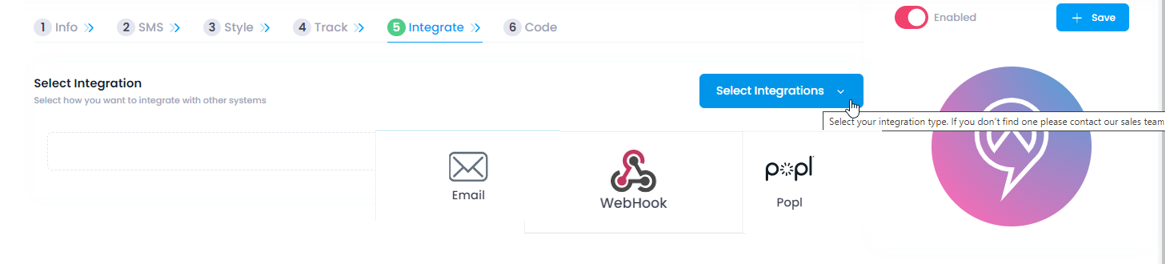
Next we will add integrations to your Floater. Click on the Integrate Tab to get started.
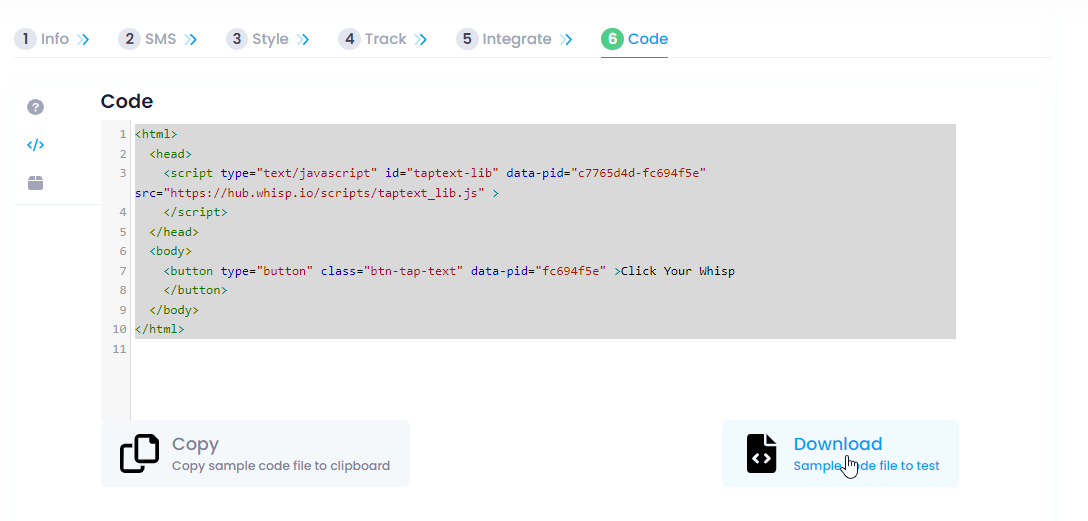
Once you have completed your integration set up you can Click on Code to download the Floater to view and test it. You can also copy the script to place it on your website. For more detailed instructions click here.